
Journaling to Productive First Drafts
I have a confession. I recoil every time I hear someone say they’re writing a “shitty first draft.” Famously coined by Anne Lamott in her writing guide Bird by Bird (our latest Read Like a Writer Book Club pick), the term gives writers permission to take all the pressure off the first draft, to throw anything down on paper in order to get it completed.
So why does it bother me? The name itself is defeatist. It says no matter how much effort we put into the work, it’s going to be terrible. By their very nature, first drafts are just that—a first attempt, which will need work.
In a world where life constantly competes for our time, we don’t have the luxury of writing twelve to fifteen drafts of something before we can say it’s done. We need to work smarter, not longer. This means we need that first draft experience to be positive. We need to write productive first drafts.
Wherever you are in your writing journey—from an initial outline to a draft to pitching your project—the experienced team at Good Story Editing can take your work to the next level.
How does one accomplish this? By establishing a writing process that helps get to the heart of the subject. This process will help you identify the nuggets of the story you want to include. It will reveal character. And it might even help determine plot twists.
How much time goes into the first draft will depend on how well you prepare before you start writing.
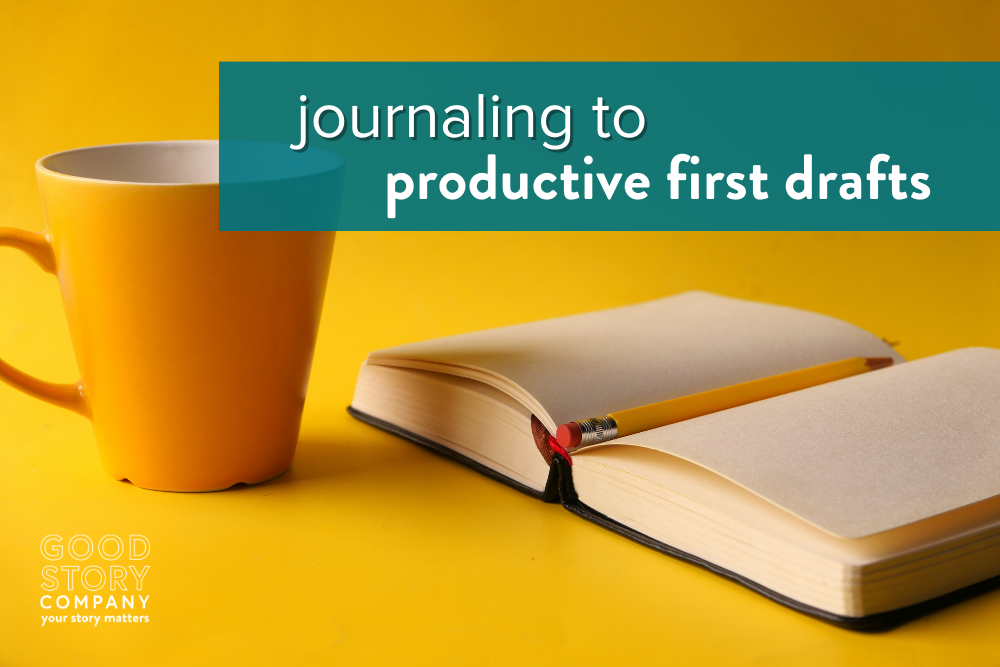
Step One: Journal.
This is your justification for investing in your favorite notebook on the journal display at your local bookstore … or Target … or the airport kiosk. (Yes, I have a journal purchasing problem. My favorites come in 3-packs from Costco. Overly ambitious? Never!)
Take the journal and pen of your choice (ok, another purchasing problem), and write out—yes, by hand—your idea for your story. Start with the date, and where you are. Maybe jot down a few things about where you’re sitting, who is near you, bits of conversation you hear. Or write down whatever’s on your mind. Then try to bring your focus into this story idea. Sketch out possible scenes. Note potential characters.
Once you have a few basic ideas, delve into the characters’ backgrounds, how they met. The journal is the place to explore and develop all of the backstory leading up to the story you want to tell. Details in backstory inform character traits, relationships, current circumstances … and very rarely need to be mentioned in the actual story. They’re important for you, the author, though, because they’ll help you understand how and why your characters tick the way they do.
The journal is also where you can play “What if?” What if these two characters had to carpool together every morning, but refused to speak to each other during the day? What if the power went out, and people were stranded at work? Anything goes in your journal! This is where you can explore multiple situational outcomes, and decide if any of them are viable for the actual story.
Side note: If you’re like my kids, you hate your handwriting and cringe at anything involving paper. Lucky for you, apps like Notable or the new Journal app on the iPhone make device-writing just as easy. Studies do show, however, that writing by hand triggers a different part of the brain, which can stimulate creativity. If at all possible, try the paper and pen method. If you’re borderline phobic of old school methods, though, use the technology.
Step Two: Write a rough outline.
The name of the game is saving time, my friends. A rough outline gives you a sense of the story’s shape, and can always be modified. If used correctly, it will inspire rather than limit your creativity. And it gives you the ability to write scenes out of order, as they come to you, because you have a sense of where they belong overall. A rough outline contains the major story tent poles: Opening Scene, Inciting Incident, Midpoint, Crisis Climax, Finale. With these tent poles in place, you always have something to write toward, a smaller achievable goal.
Step Three: Flesh out the outline.
The more detailed the outline is, the easier it will be to write the first draft. We’ve covered outlining in other posts, so I won’t repeat it all here. A fully fleshed out outline will show plot and character arcs, momentum shifts between the tent poles, and can even get into scene-by-scene breakdowns.
Step Four: Begin the draft.
Your framework is now in place. When you sit down to write, you should have a good sense of what you’re going to cover in a given session. Don’t worry about word count goals—focus on the scene or scenes you want to concentrate on, and get them on the page. If you get stuck, put in a place holder. (I use XXX.) Then later you can search the document for this and fill in the gaps. The journal also comes into play here. If you’re stuck on what to name someone, or you need to better characterize them, brainstorm through the challenge in your journal. See what percolates.
Step Five: Complete a Productive First Draft
Commit to writing. Schedule time on your calendar, bring your laptop to your kids’ sports practices, whatever it takes. If you follow the road map you’ve created, supplement it with details you’ve scribbled in your journal, and follow through, you’ll have a finished, workable first draft in months, not years.
Journaling is your first step in building your story’s world. The journal could become the happy place you retreat to when you need to feel surrounded by what you’ve imagined. Writing in the story journal in parallel to working on the draft will make the draft more productive, and ultimately lead to less work once the productive first draft is finished. Now pick up that pen, and keep writing!
Are you ready to take your story to the next level? Kristen Overman is here to help you! She's an experienced editor with expertise in middle grade and young adult fiction, picture books, adult fiction, and memoir. This post contains affiliate links.